A.k.a How to Get the Look You’ve Been Seeing Non-Stop Since Quarantine Started
The tie dye shirt, a favorite craft of hippies and middle school girls alike. Its an activity I have done at birthday parties, in a sewing class, and one time while camping. So, while I know how to do it, I can’t explain why it is the new go-to activity. While I could always toss on my older masterpieces, I decided to get the full experience of tie dying a shirt during quarantine and ordered my supplies. Hope you enjoy this walk through and remember to have fun with this!
Collect your supplies
All you need is:
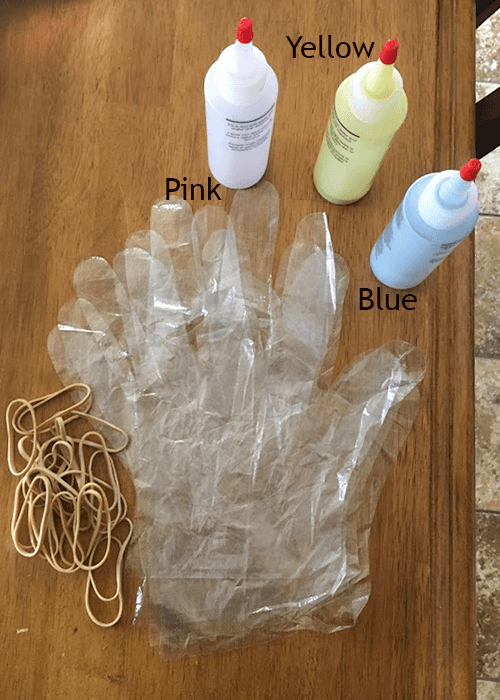
- Fabric Dye- There are plenty of options for colors and types. I used dye from a kit so all I needed to add was water but read the product descriptions because have steps to activate.
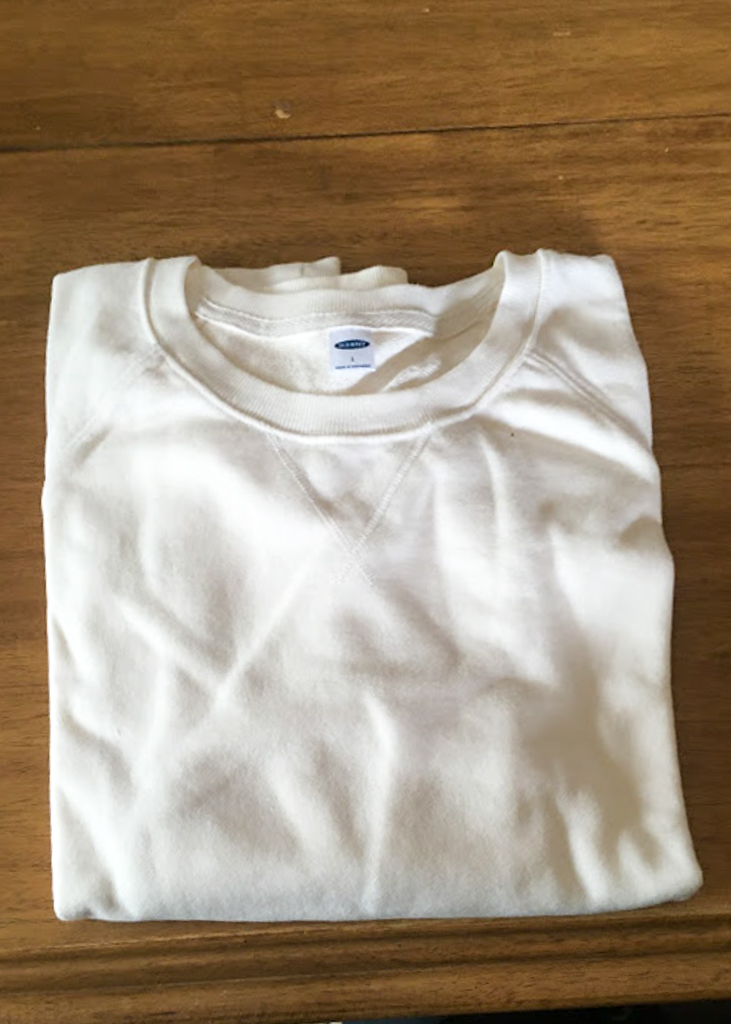
- Your Clothing Item- You don’t have to only ever tie dye shirts, I went for a sweatshirt, but you can dye anything. If you want to dye a tablecloth, go for it… just make sure you have enough dye. It is important however to make sure you are dying something made from a natural fabric or the dye won’t work.
- Rubber Bands- If you want to tie dye, you have to tie your sweatshirt up. You want rubber bands because they’ll make a good seal but still leave you with some room to blend.
- A Pair of Gloves: You may need two pairs because you’ll use one pair for the dying and one pair for washing the dye off.
- A Plastic Tarp: This is a super simple craft but it can be messy, so its best to do this outside in the yard cover the work station with plastic. I used a large trash bag.
Process
First thing you need to do, before any actual work, you need to pick your pattern. I stick to the basics but there are All kinds of patterns out there. Take the time to look around and find something that is best for you. While you do this it is best practice to throw your shirt in the wash. This is because some shirts come with a coating on them that prevents the dye from soaking into the fabric.
Once you have a pattern in mind its time to start tying. I decided to get some stripes and my mom, who decided she wanted to be part of this project, did a bullseye. Ours looked really similar as when they were tied but the results were pretty different.
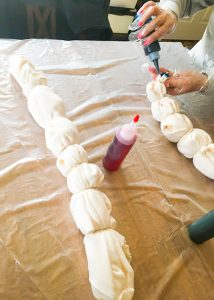
Now that your shirt is tied up it is time to dye! Depending on how dramatic of a saturation you want you can decide to really soak a section or just give it a couple of splashes of color. My mom went for a lot of saturation as you’ll see. I, on the other hand, tried to keep it more minimal. You can alternate between really saturated and light touches as often as you want.
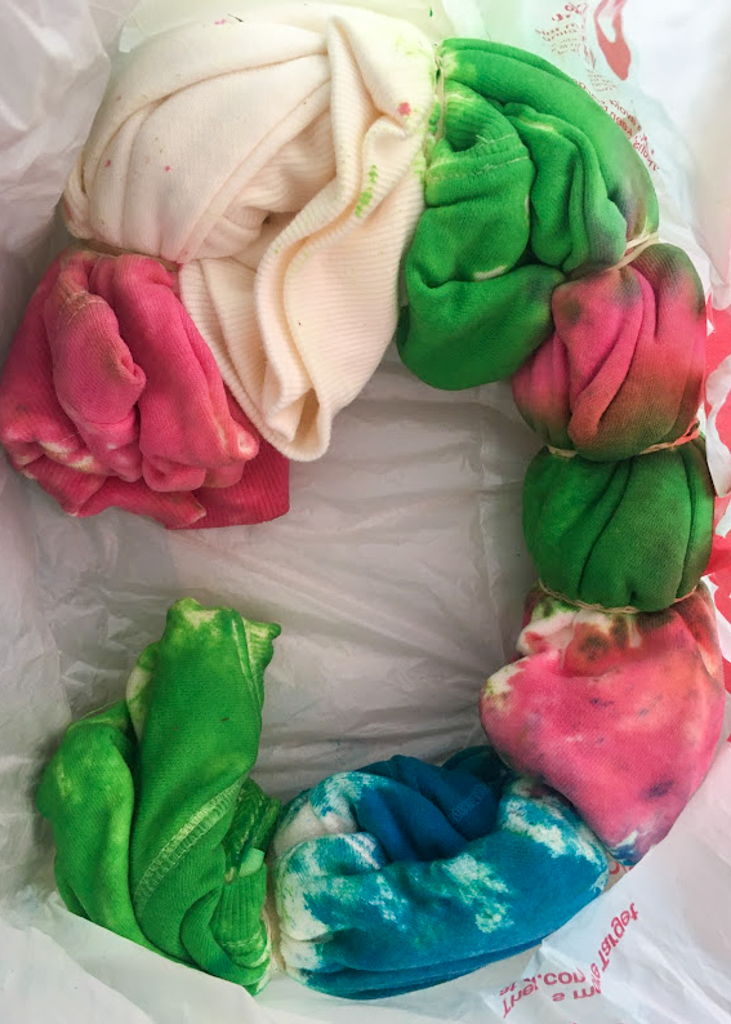
Once that is done you want to put the shirt in a large zip-lock bag or tie it in a grocery bag (the option we went for) to let the dye soak for a few hours. After the shirt has soaked for a while rinse the dye out in a sink or something that will drain. It is a good idea to wear gloves for this but if you don’t mind a bit of dye left on your hands. We left ours overnight but you can wash it soon if you want. Just make sure to wash a small section first so you know the dye set in enough for you.
Once you have fully rinsed the shirt out, you can toss it in the washing machine. I suggest washing the shirt alone or with your darkest colors nothing gets dyed by the bit of color left over. After it’s washed you can toss it in the dryer like any other shirt and you’ll be ready to go.
The Results
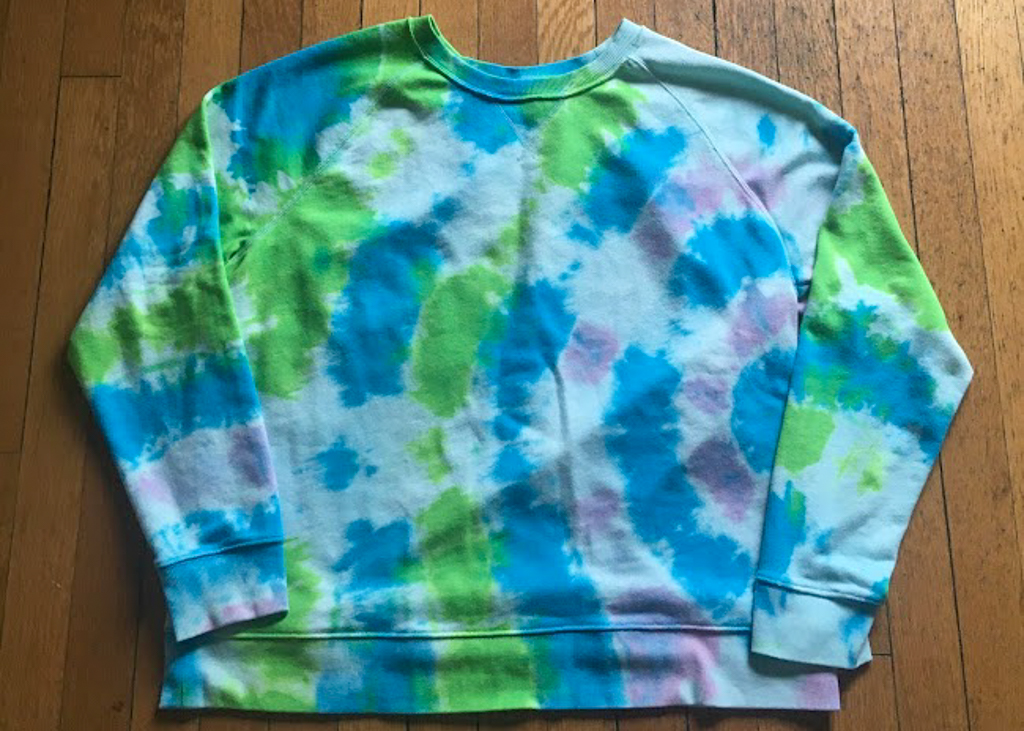
My Mom’s Sweatshirt 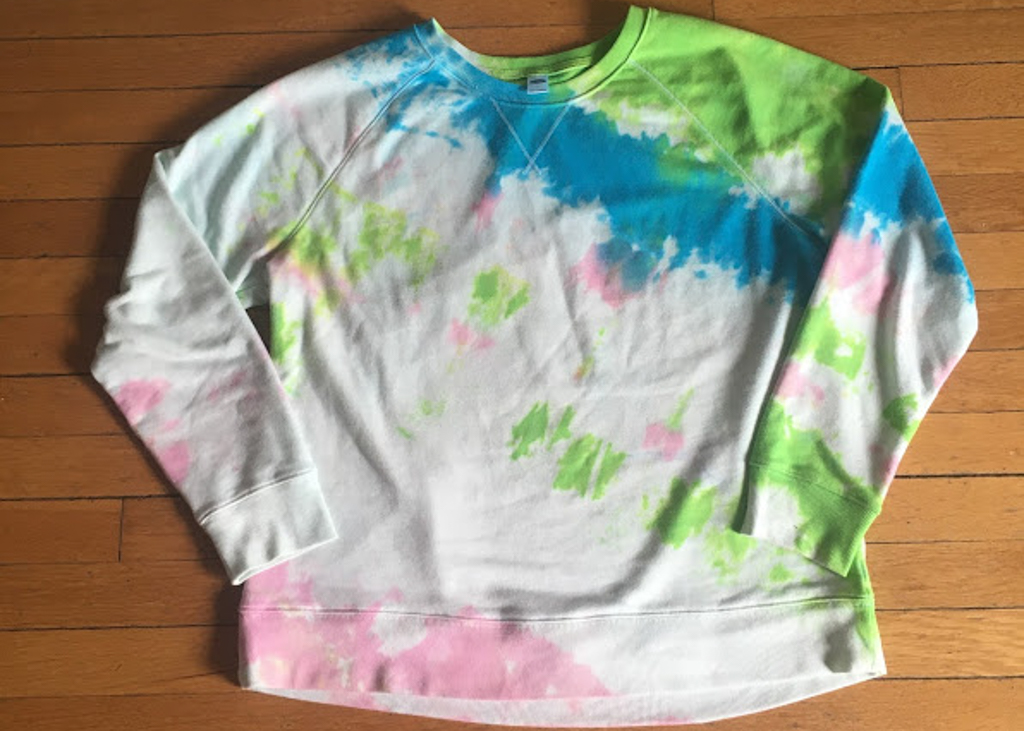
My Sweatshirt
Both my mother and I are very excited about the results of this project. I really like the blank space on mine. Next time I think I’ll add a bit more dye to get a more gradual fade into lesser color. My mom on the other hand is a bit disappointed about her lack of blank space. Plus, there was so much blue dye in her shirt it gave most of the white space a blueish tint. The cool thing about tie dying a shirt is that there really isn’t a way to get the same exact results twice so each piece is unique.
Overall, this was a really fun craft to do and it was so easy! This is a great way to not only kill some time but to jump on a super cool trend. I am so happy that people are finding so many different ways to entertain themselves and be creative. If this article inspired you to keep crafting, I also have an article on 3 Ways to Upcycle Jeans that was also a lot of fun.
xoxo,
Emelie
